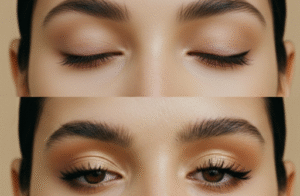
If your makeup disappears by lunchtime or looks patchy by the end of the day, chances are you’re skipping primer application. Proper skin preparation helps create a smooth canvas that makes the foundation adhere better and helps control shine, especially on T-zone areas. This guide teaches you how to apply primer like a pro and also advises which formula suits your skin type.
Primer Application Tutorial for Beginners
Primer works best when applied in the right order, so knowing basic makeup techniques will give you a definite advantage. Below is an easy four-step process on how to prime the skin and apply foundation to create a smooth and lasting finish.
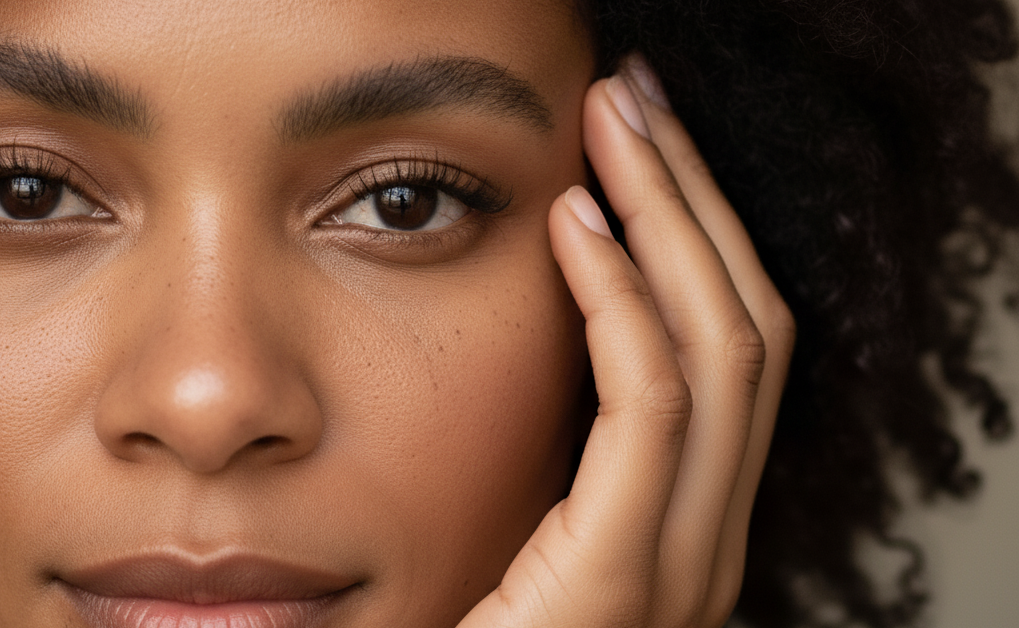
Step 1: Start With a Moisturized Skin
Washing your face with a gentle cleanser and applying moisturizer or SPF as primer won’t sit securely on oily or flaky skin.
Pro Tip
Use a lightweight, non-greasy moisturizer. Heavy creams can create a slippery base and make primer application tricky to execute.
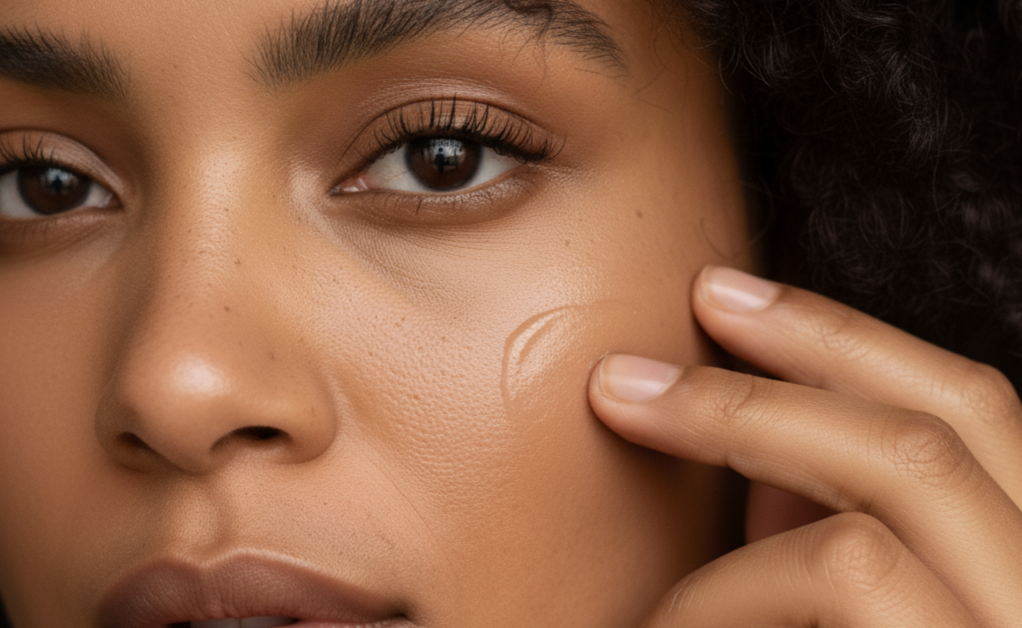
Step 2: Apply a Pea-Sized Amount
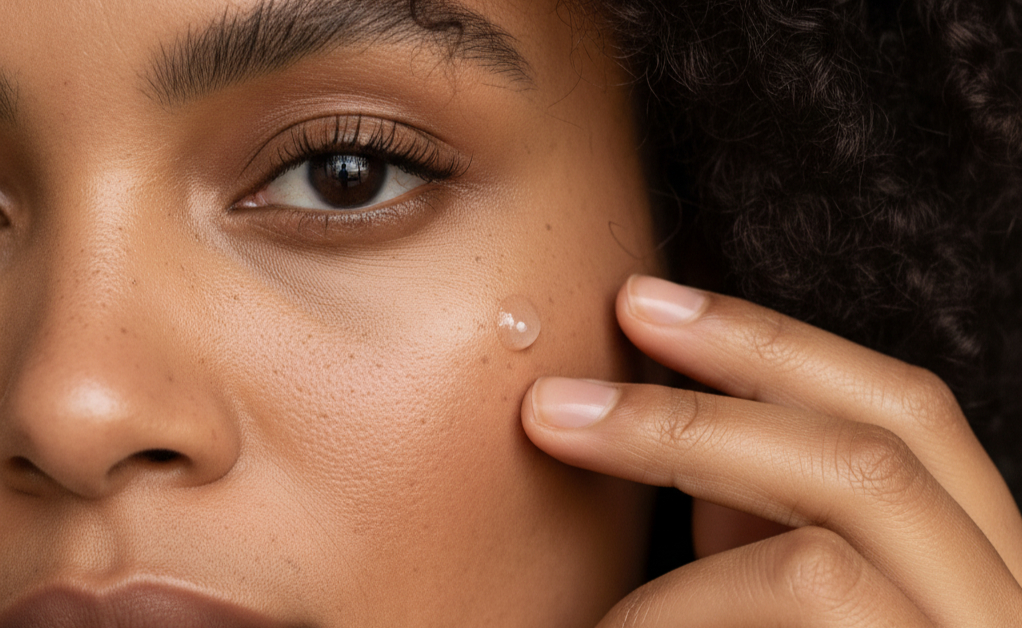
Squeeze a small amount of primer and dab it on the T-zone, cheeks, and chin. Then, blend outward using your fingers or a sponge.
Pro Tip
Over-priming can cause the foundation to pill or slide, so a pea-sized dab should be enough.
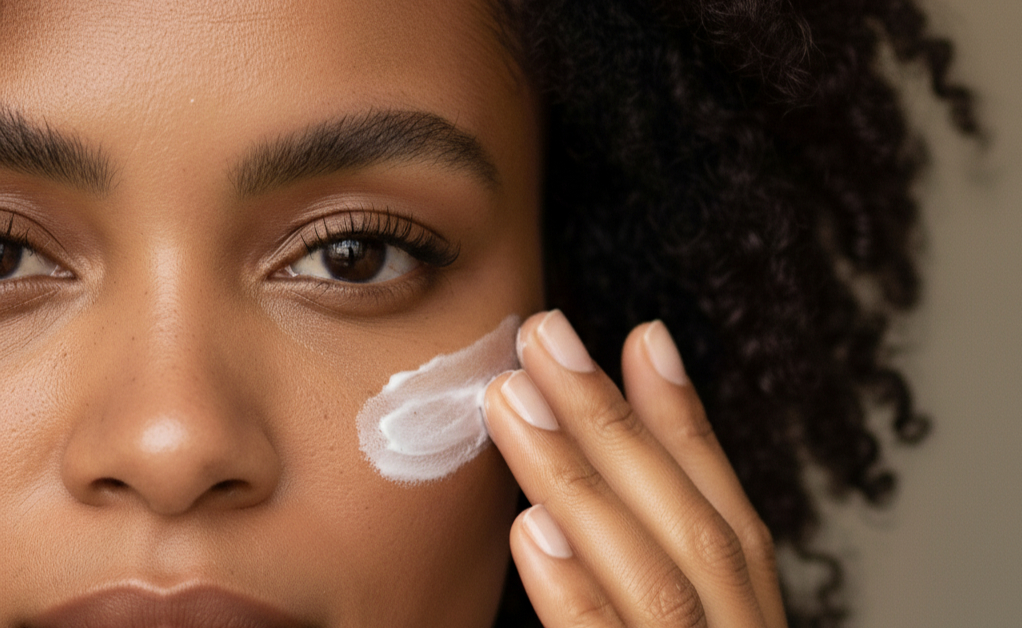
Step 3: Blend and Wait
Massage or press the primer into the skin and focus on problem areas such as pores, fine lines, or oily zones. Waiting at least a minute before applying foundation allows the primer to grip properly.
Pro Tip
Letting the primer set prevents it from merging with the foundation. If you rush, both products will mix and cause each other to easily fade.
Step 4: Continue With Foundation
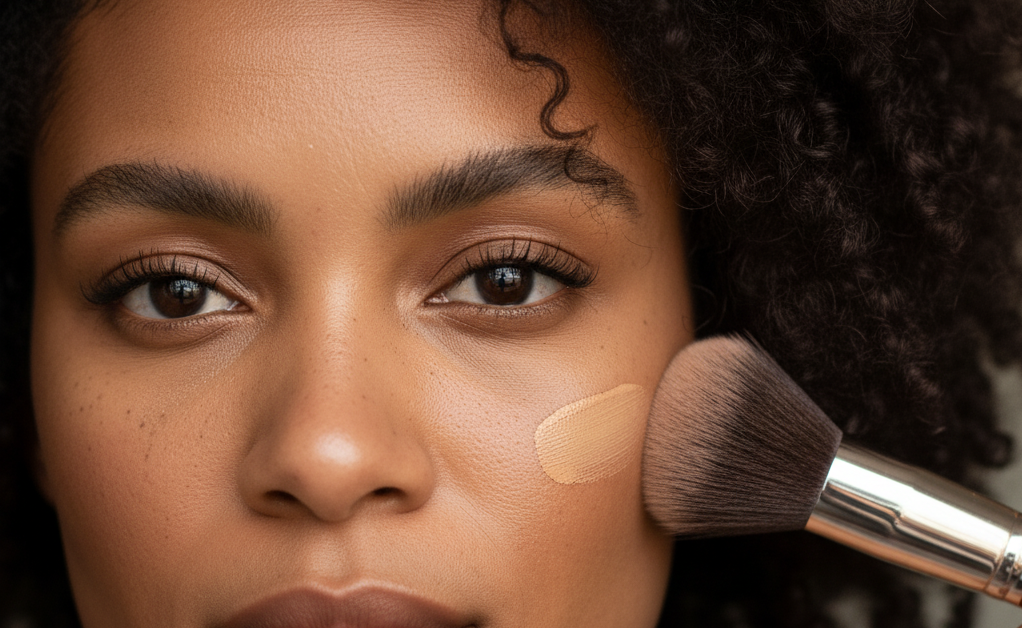
After the primer sets, dot some foundation onto the forehead, cheeks, nose, and chin. Use a damp sponge or a makeup brush to gently press and blend it outwards.
Pro Tip
Match textures for best results. For example, a dewy foundation pairs best with a hydrating or illuminating primer while matte foundation works better with mattifying or pore-blurring formulas.
Primer Application: Choose Based on Your Skin Type
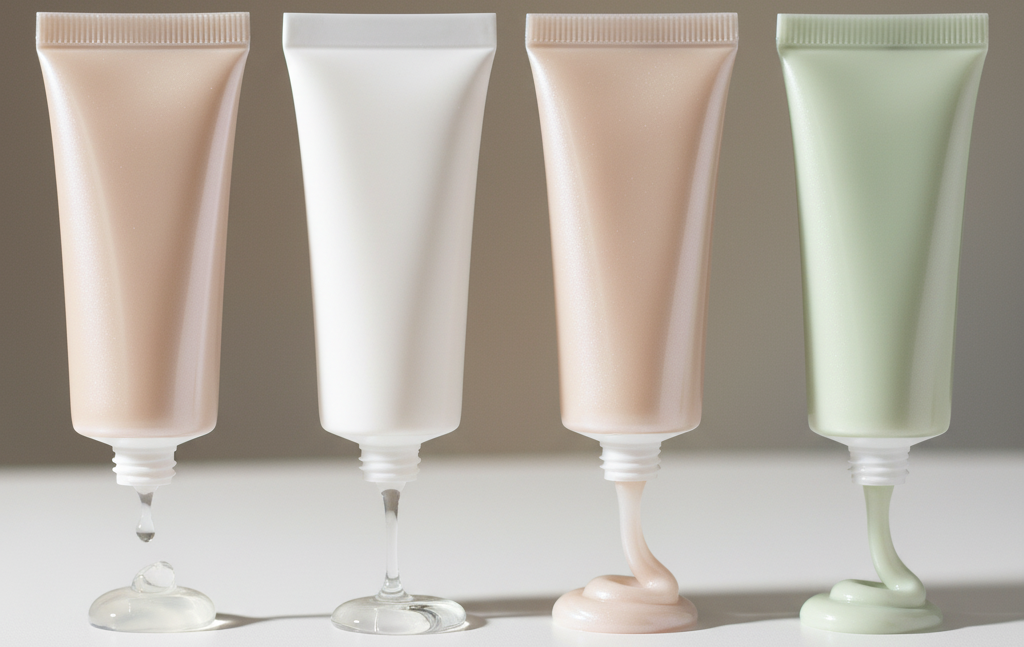
The wrong formula can cause the foundation to separate or look greasy by noon. Here’s how to match the correct primer to your skin’s needs:
- For Oily skin: Go for a mattifying or pore-blurring primer as it absorbs excess oil and helps minimize the appearance of large pores.
- For Dry skin: Choose a hydrating primer that consists of hyaluronic acid or glycerin as they help moisturize the skin and keep foundation from looking cakey.
- For Dull skin: Use an illuminating primer as it adds a subtle radiance under foundation and makes the skin look fresh.
- For Redness: A green-tinted color-correcting primer helps neutralize redness from rosacea, irritation, or blemishes.
Primer Application Tutorial: The Final Touch
We often overlook the primer because it seems optional. However, this step is what ensures each makeup layer blends seamlessly against each other. Make sure to pick a formula that suits your skin type to avoid common issues like caking or sliding. A light layer of primer now means fewer touch-ups later.
Have you found your perfect primer match yet?
FAQs
- Do you need to use a primer every day?
Not necessarily. Use it when you want long-lasting makeup or a smoother finish. - Can I use primer alone?
Yes! Many people use primer alone on no-makeup days for a filter-like finish. - What if my makeup peels off after applying primer?
You’re likely using too much primer or mixing formulas that don’t layer well. Stick to a pea-sized amount and give it time to set.