A concealer is one of those products that can completely transform one’s look, but only if used correctly. While it’s a makeup essential, using it the wrong way can backfire by highlighting what you’re trying to cover.
But don’t worry, we’ll walk you through a simple routine and cover common mistakes to make your concealer look seamless. By the end of this guide, you’ll be more confident every time you reach for your concealer!
Snap Guide
- Prep skin before concealer for smoother blending
- Foundation first, then concealer
- Apply in thin layers, not heavy swipes
- Blend with patting motions, never dragging
- Always set with powder to prevent creasing
Choosing the Right Concealer
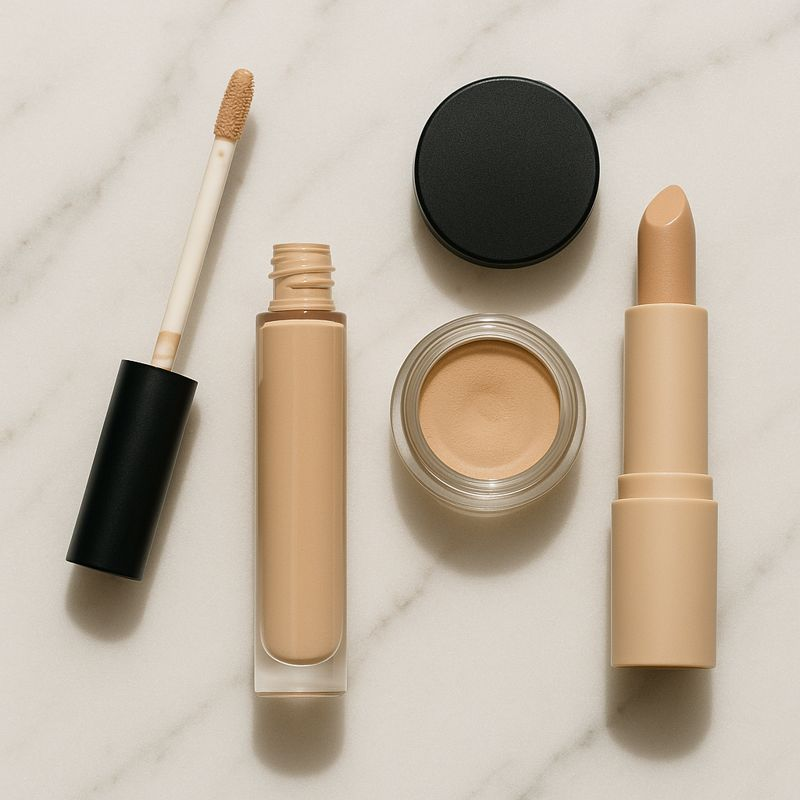
Be it liquid, stick, or cream, it’s important to pick the right formula that’s according to your needs. Here’s a helpful guide:
- Liquid is best for under the eyes and larger areas because it blends easily
- Creams are helpful for dryness or more coverage
- Sticks work well for targeted blemish coverage.
Shade choice is also important. For under-eye brightening, go about one shade lighter than your foundation. For blemishes or redness, match your skin tone exactly. And if you struggle with dark circles or redness, consider a color corrector underneath.
5 Steps on How to Apply Concealer

Applying concealer becomes easier with this five-step mini routine we’ve come up with:
Step 1: Prep the Skin
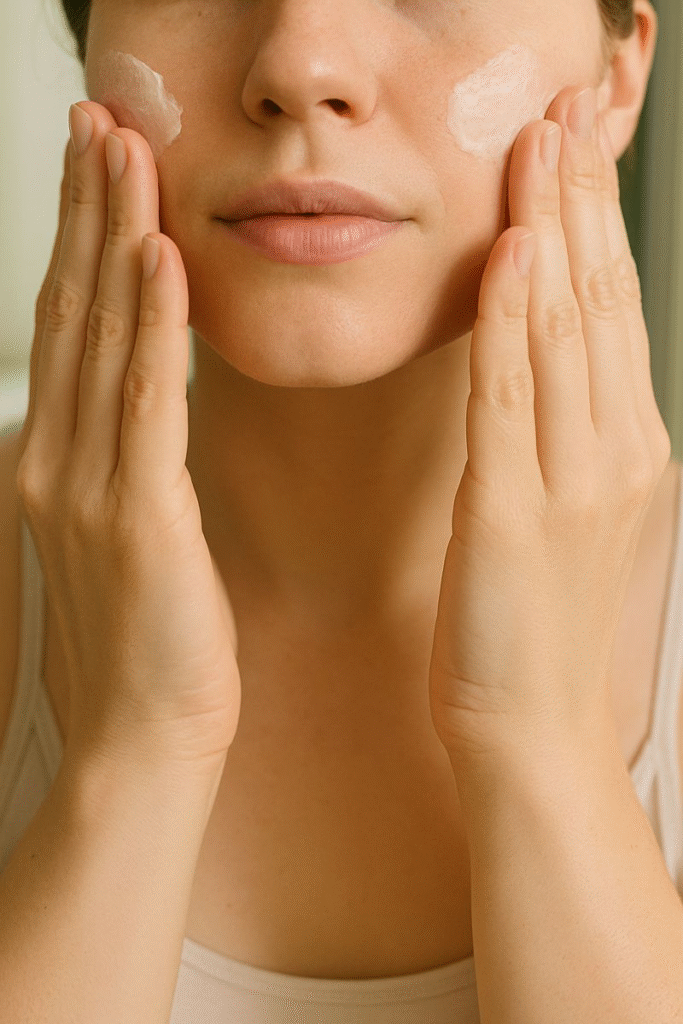
Apply moisturizer to hydrate, then add a primer suited to your skin type. This prevents the product from clinging to dry patches or breaking apart during the day.
Step 2: Foundation First
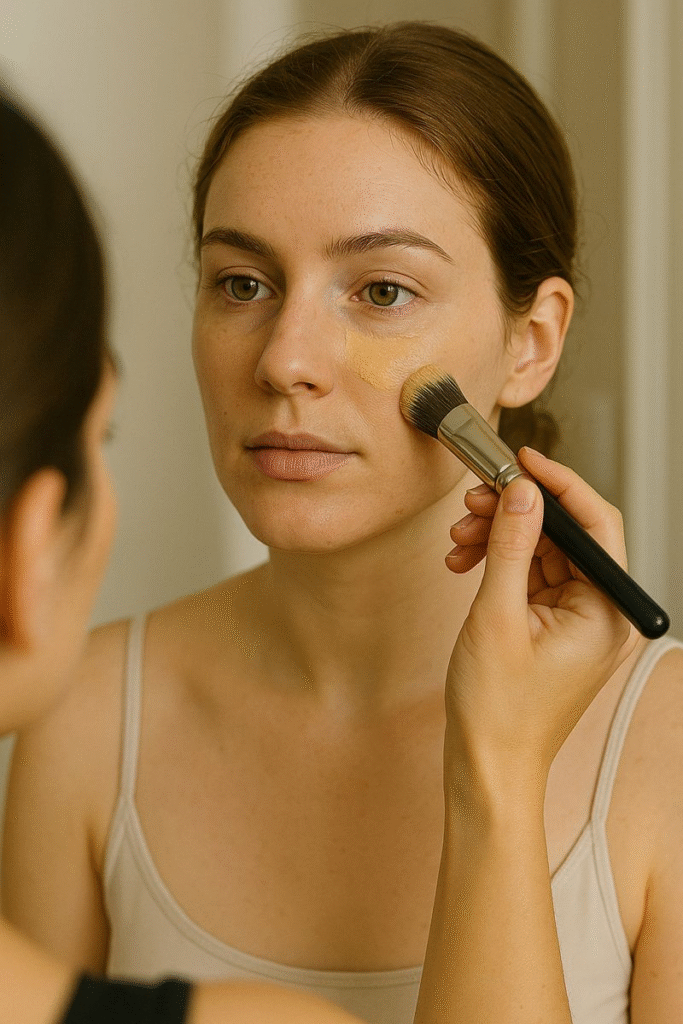
In most cases, apply foundation before concealer. The only exception is concealing specific blemishes, where you may want to dab concealer on bare skin for maximum coverage.
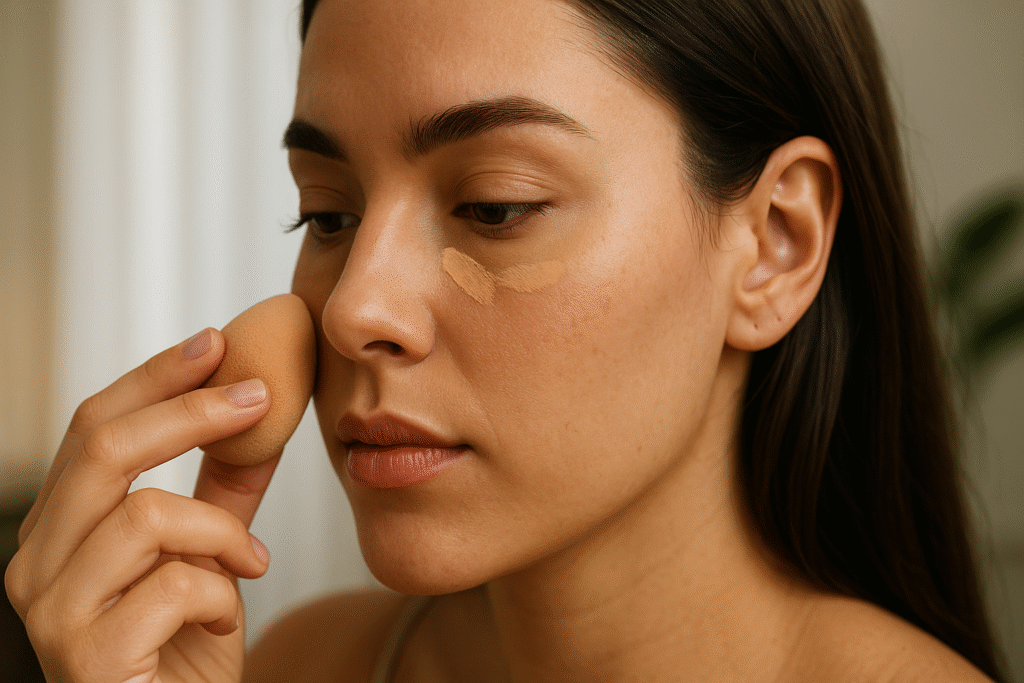
Step 3: Placement
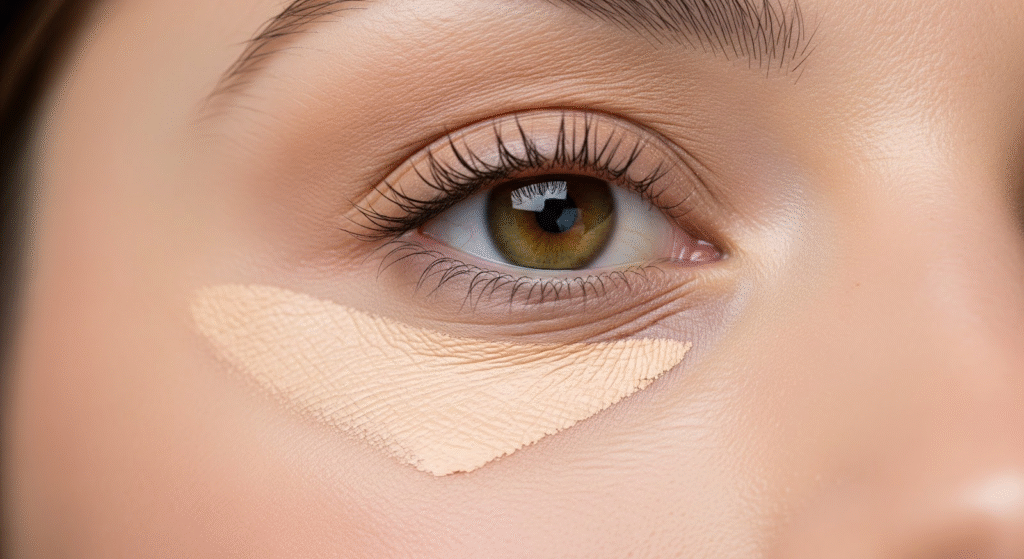
For the areas under the eyes, apply in a triangular shape pointing down toward the cheeks. On blemishes, place tiny dots directly over the spot instead of large swipes. Around the nose and mouth, use a thin line to cancel redness.
Step 4: Blend Gently
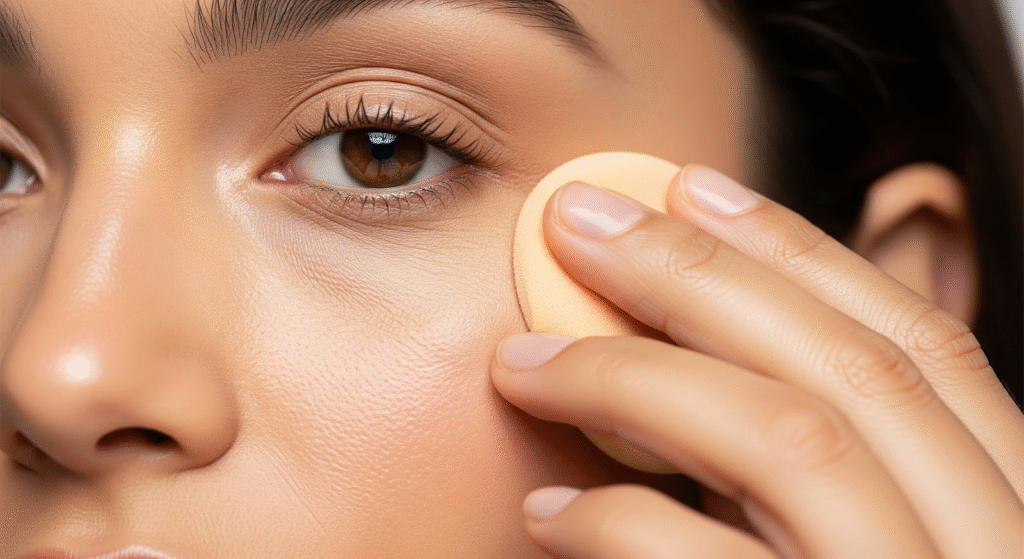
Instead of rubbing, tap the concealer with a damp sponge for a natural finish, or a brush for more precision. For small areas like blemishes, use your fingertip’s warmth to melt the product in.
Step 5: Set in Place
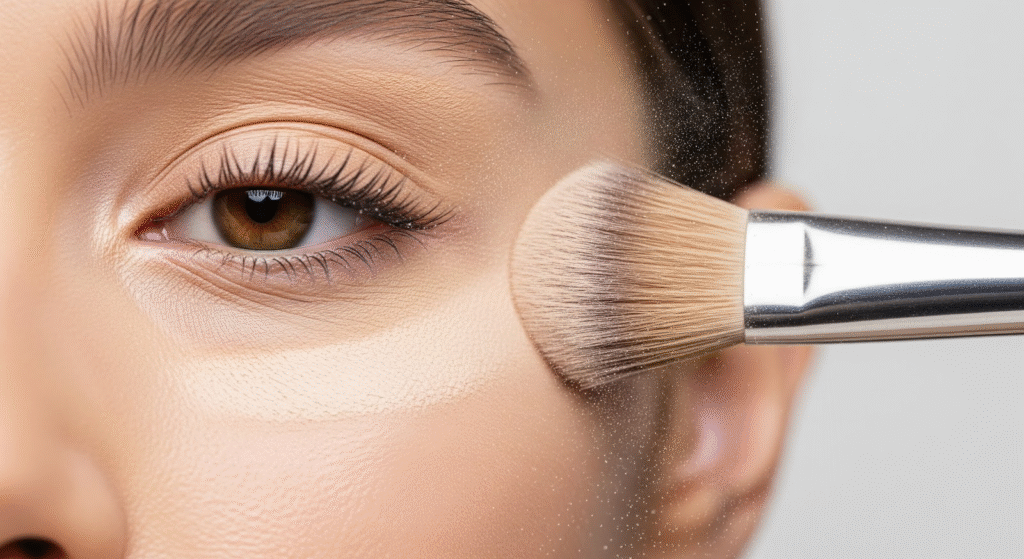
To keep concealer from moving or creasing, dust a small amount of translucent powder over it. Focus especially on the under-eye area, where creases form quickly. Don’t forget to use a light hand.
Techniques for Different Concerns
Concealers aren’t one-size-fits-all, so adjust your technique depending on what you’re covering. Here are some common uses for concealers and how you should apply them:
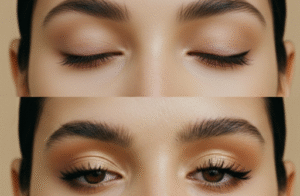
- For dark circles, start with a peach or orange corrector before layering a brightening concealer.
- For acne, stick to thin, layered coverage.
- Redness around the nose and cheeks responds well to a green corrector topped with a skin-matched concealer.
- For mature skin, use creamy hydrating formulas. Skip heavy “baking” techniques that can age the skin.
Common Mistakes to Avoid
Even the best concealer won’t end up flawless if applied incorrectly. That’s why you should look out for these mistakes:
- Using the wrong undertone can make the under eyes look gray.
- Piling on too much product creates a cakey finish that emphasizes texture.
- Skipping powder altogether will almost guarantee creasing.
By blending carefully and setting lightly, you can avoid common mistakes and keep your makeup looking polished all day.
Final Thoughts on Applying Concealer
The right shade and good prep can help you apply concealers effectively. Once you learn these techniques, you can cover your blemishes without stress. The best part? You don’t need a massive routine or pro kit to nail it. A few mindful steps and a light touch are all it takes to turn concealer into your secret weapon.
Try our routine and tell us what you think in the comments below!