Choosing the right shade of foundation for your face can be hard, especially when you’re new to makeup products. Pick the wrong match and your skin can look too orange, too pale, or too patchy after makeup.
The good news is you’re not alone; many people also struggle with picking the right product. This foundation for beginners guide breaks down how to pick a shade and which formula works best. By teaching you proper application, you’ll get to experience a more confident you.
Snap Guide
- What it does: Creates a smooth, even base so the rest of your makeup looks polished.
- Shade matching tip: Test on your jawline in natural light, not your wrist.
- Formula choice: Liquid is the most forgiving for beginners; powders can emphasize dryness.
- Tools to use: A damp sponge for seamless blending, or clean fingers for cream formulas.
What Foundation Actually Does
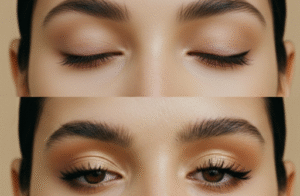
A foundation is like the first coat of paint on a bare wall: it prepares the surface for more layers through smoothing and evening it out. The same principle applies to your skin, as it serves as the base for your makeup ensemble. It’s not meant to mask your face but instead create a balanced base to highlight your natural features
The catch with foundations is that wrong choices or application result in runny, heavy, or settling into fine lines. That’s why beginners need a clear and easy guide for these products.
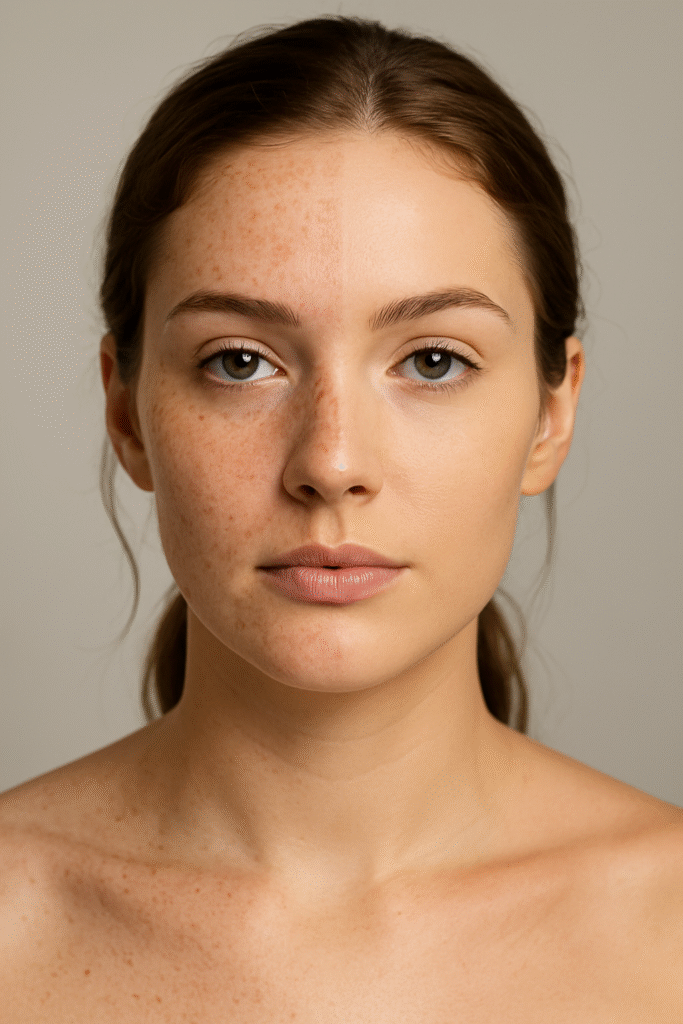
How to Choose the Right Foundation Shade
Foundation bottles can look perfect under store lights, but some turn orange after spending some time on the skin. This is oxidation in action, and it’s one of the biggest frustrations for beginners.
Here’s the smarter way to find your foundation color match while accounting for oxidation:
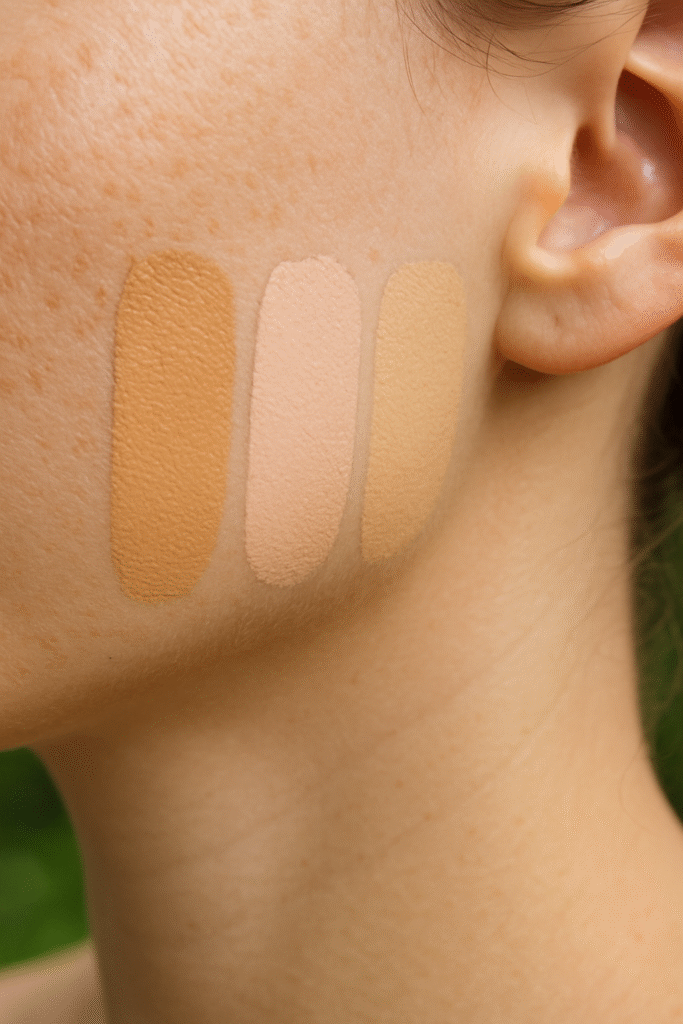
- Know your undertone. Warm undertones sit between yellow and golden, cool undertones look pink or blue, and neutral falls somewhere in between. To know your undertone, you can check your veins: green suggests warm, blue suggests cool, and a mix usually means neutral.
- Swatch at the jawline. Not your hand. The jaw gives the truest read between your face and neck.
- Step outside. Natural daylight is the ultimate truth teller. If the shade disappears into your skin outdoors, you’ve found your match.
For starters, try brands like Fenty Beauty and Maybelline, which offer wide shade ranges for the perfect fit.
Foundation Types Explained
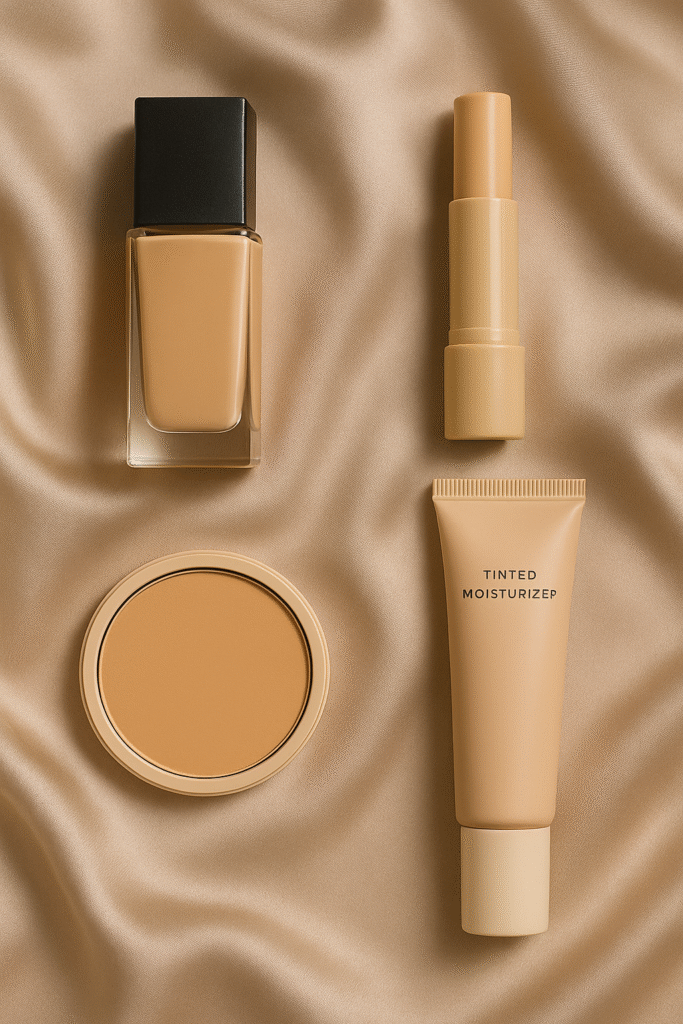
Which formula should you start with? It will depend on the level of comfort you need, style, and where you’re going.
- Liquid foundation: Blendable, buildable, and versatile. Works for most skin types.
- Powder foundation: Great for oily skin or touch-ups, but can look dry on textured skin.
- Stick foundation: Easy for on-the-go, but can feel heavy if overapplied.
- Tinted moisturizer/BB cream: Light coverage, perfect for “no-makeup makeup” days.
Pro tip: Beginners often get the best results with liquid foundations with light-to-medium coverage. They’re forgiving and let you experiment without looking overdone.
Tools To Make Application Easier
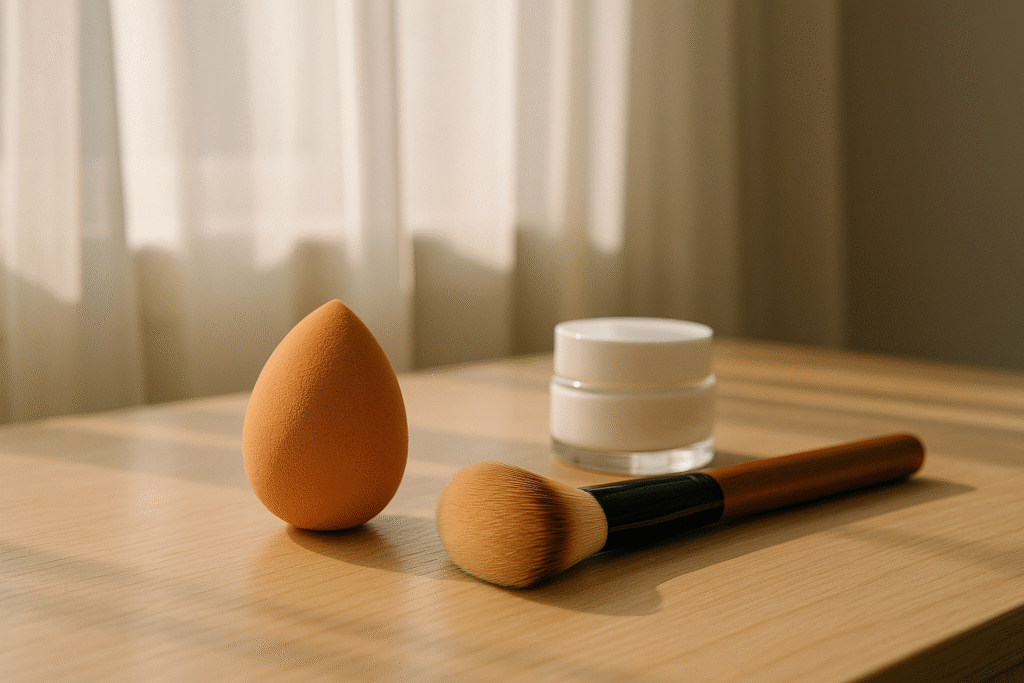
Brushes, sponges, and fingers are the most common tools for applying foundation. However, it’s worth noting that all three have specific uses.
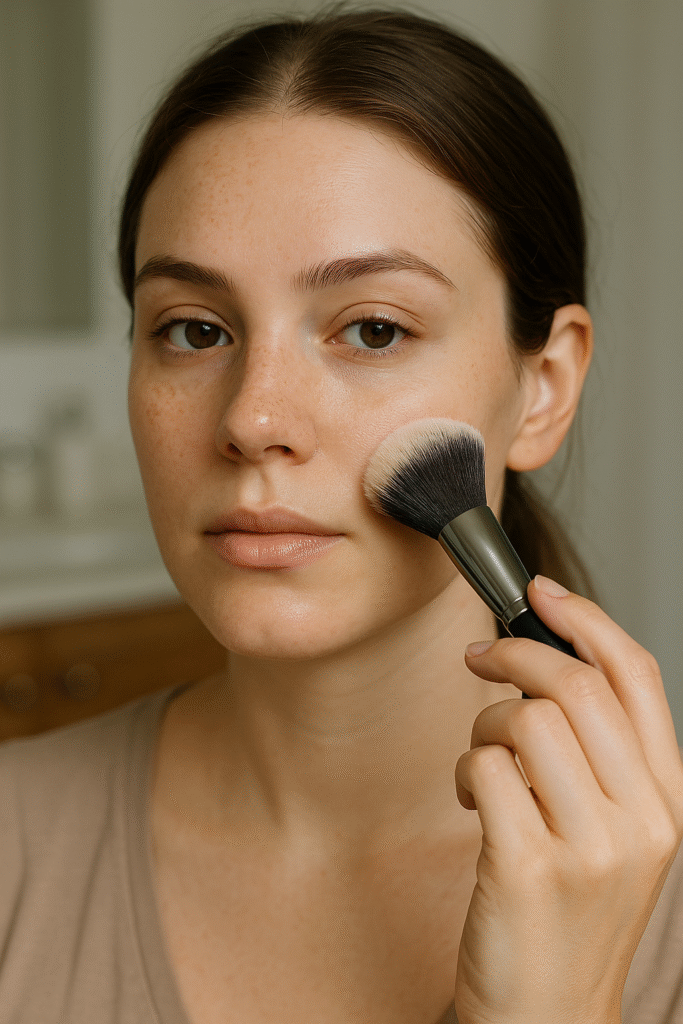
- Brushes: Delivers a polished finish and is great for buffing liquid formulas.
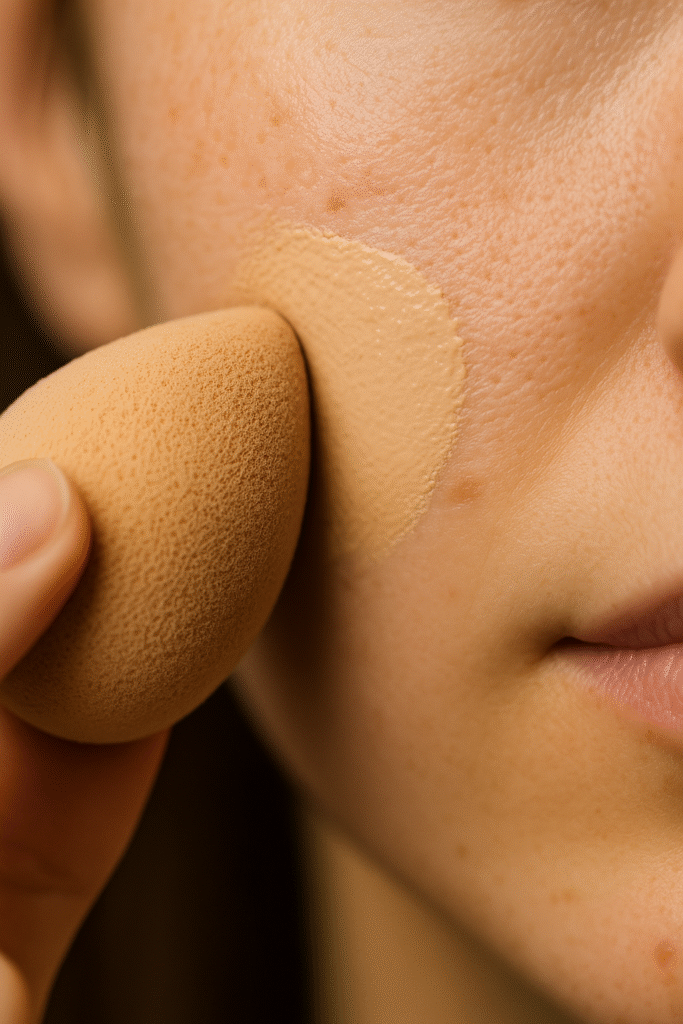
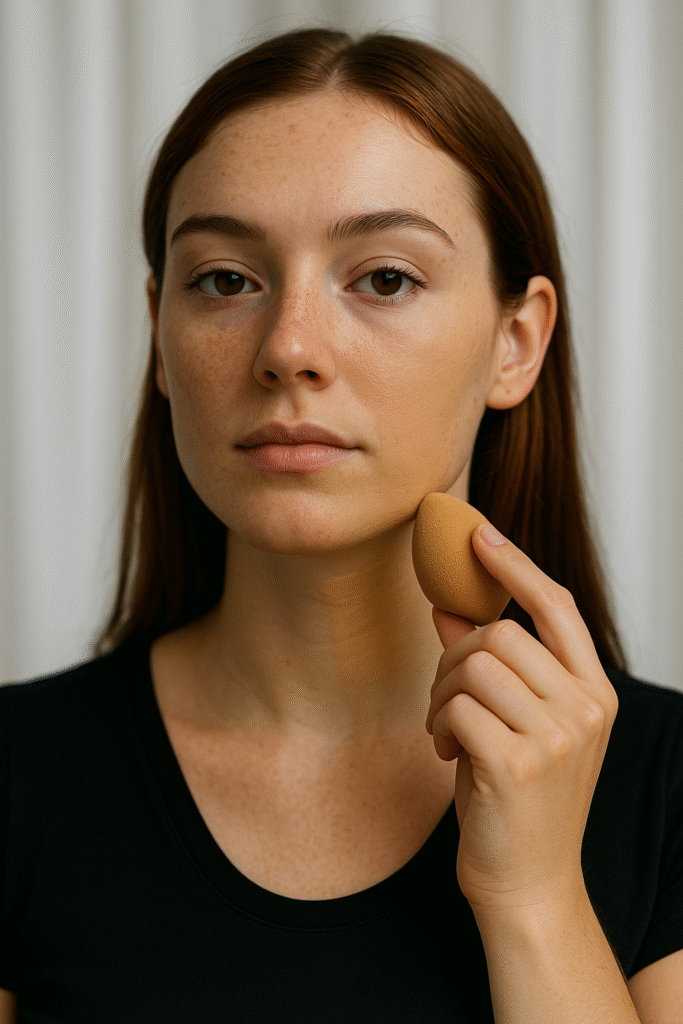
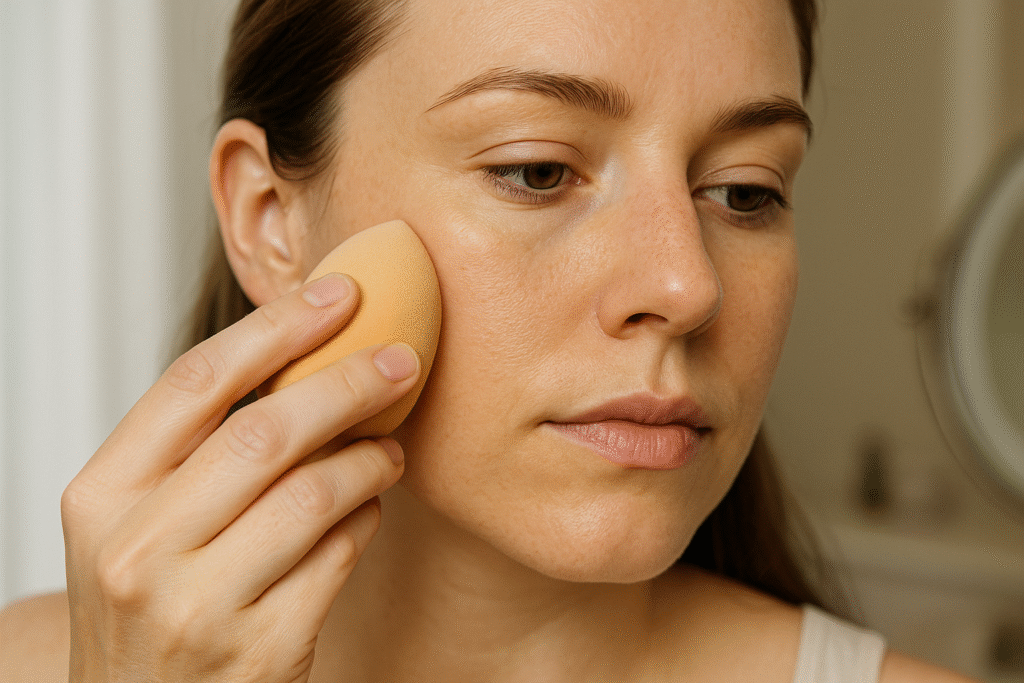
- Sponges: Dampen first for a seamless, skin-like effect. Ideal for blending.
- Fingers: The OG tool. Body heat helps melt the foundation into the skin, especially creams.
If you’re just starting out, a good-quality sponge and a basic foundation brush will cover most of your needs.
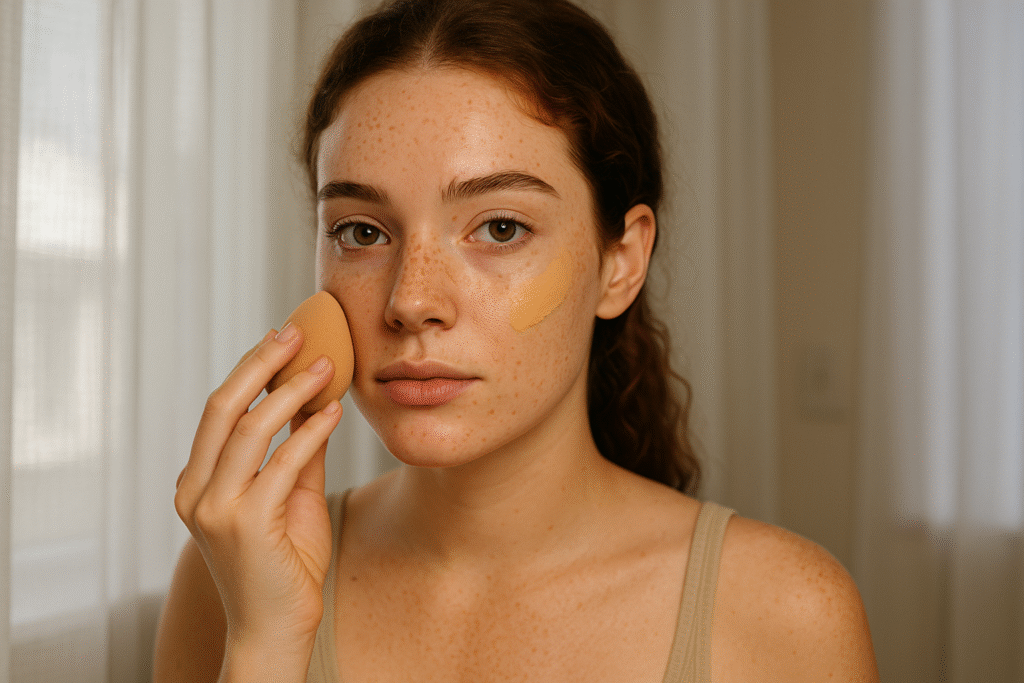
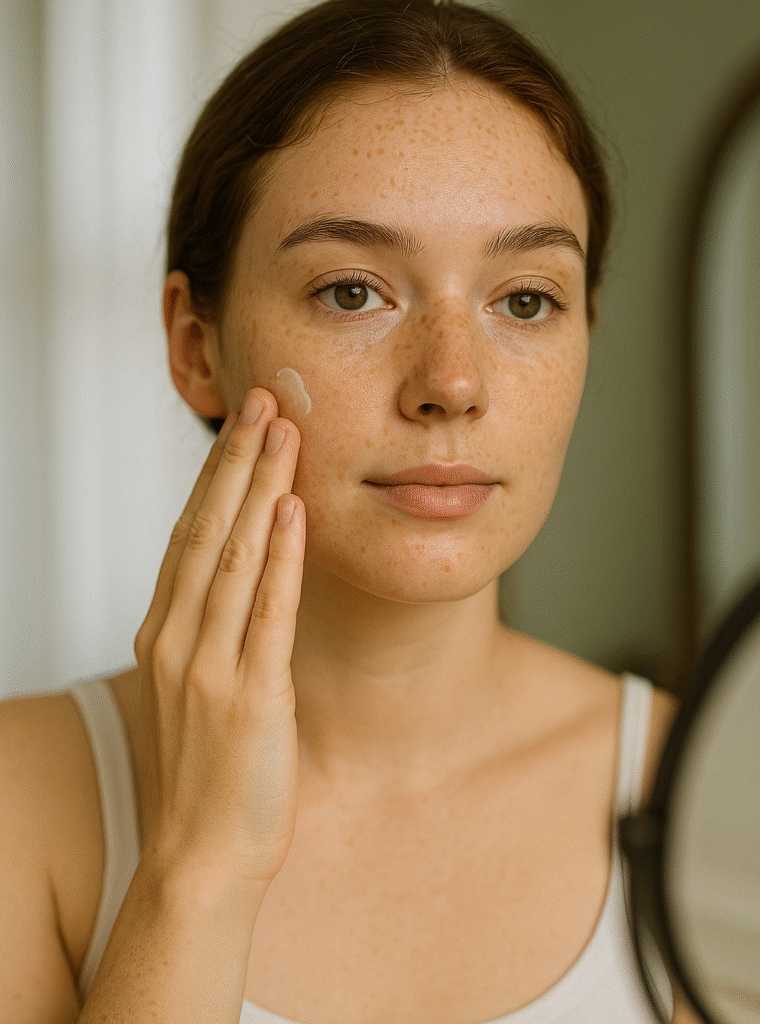
Step-by-Step: How to Apply Foundation for Beginners
Ready to put it all together? Follow this routine and you’ll never wonder what to do again.
1. Prepare your skin. Cleanse, moisturize, and, if possible, use some primer. Doing so will smooth out the skin for better foundation application.
2. Dot foundation lightly. Start in the center of the face (cheeks, forehead, chin) and blend outward. This avoids heavy buildup at the edges.
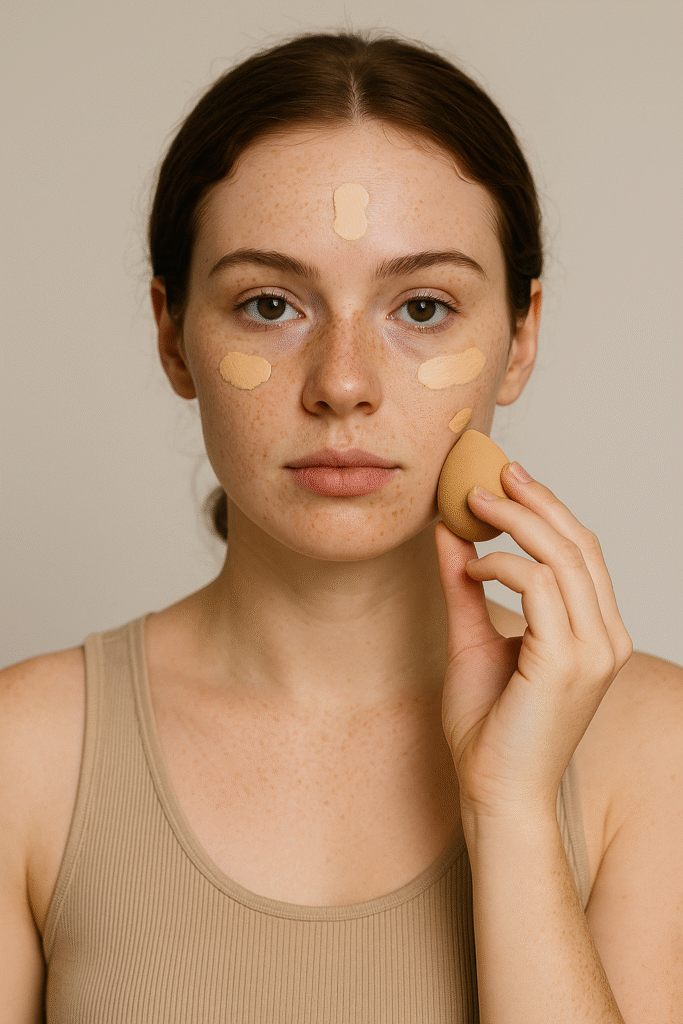
3. Build slowly. Want more coverage? Add another thin layer instead of piling on.
4. Blend down the neck. Many people mess their foundation up by stopping at the jawline. You have to blend it to prevent the dreaded “mask” effect.
5. Set if needed. Oily skin? Lightly dust with translucent powder. Dry skin? Skip or just set the T-zone.
Practice these steps whenever you can and you’ll slay with your foundation in no time!
Common Foundation Mistakes and Quick Fixes
Even pros slip up with makeup, especially when using foundation. Don’t panic if you run into common mistakes listed below. Instead, just follow these fixes:
- Cakey finish: Too much product. Fix by misting a setting spray and pressing with a sponge.
- Wrong shade: Mix with a lighter or darker foundation or sheer it out with moisturizer until you replace it.
- Patchiness: Usually from dry skin. Exfoliate gently and moisturize before reapplying.
These few tweaks can correct these common mistakes and give you the fresh and natural look you’ve wanted all along.
Your Foundation Journey Starts Here

Applying foundation doesn’t have to be intimidating. The right shade, formula, process will give you a base that lasts all day without stress.
Are you ready to build out your full starter kit? Explore the rest of our makeup guides and tell us what you think!
Frequently Asked Questions
Do I really need primer before foundation?
Not always. If you have oily skin or need an all-day makeup, a primer can help create a smooth base. For normal or dry skin, a good moisturizer is often enough.
Should foundation go on before or after concealer?
Most beginners find it easier to apply foundation first, then use concealer only where extra coverage is needed. That way, you avoid layering too much product.
Can I apply foundation with my fingers?
Yes! Clean fingers warm up the product and help it blend seamlessly. A damp sponge or brush gives a more polished look, but your hands are still a beginner-friendly tool.
How much foundation should I use?
A few dots across the cheeks, forehead, and chin are plenty. Starting light prevents a cakey finish.